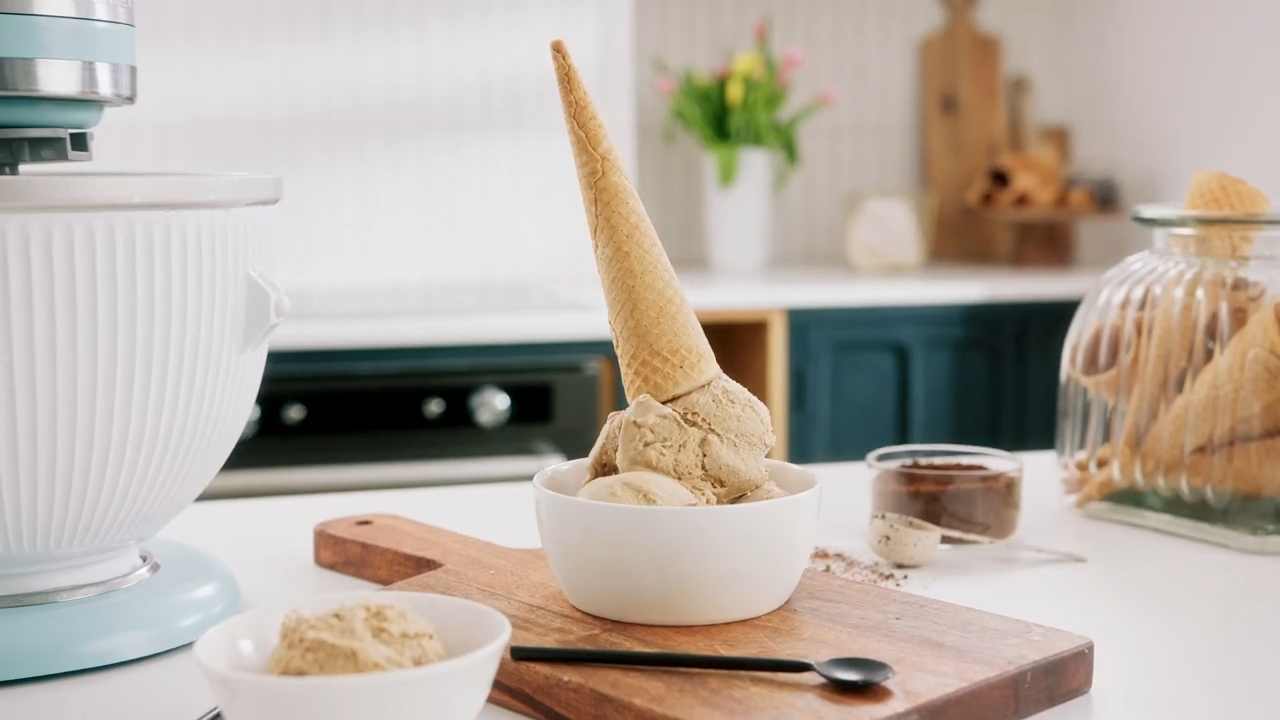
Making KitchenAid ice cream recipe is not only easy but also incredibly fun. With control over the ingredients and flavors, you can create everything from classic vanilla to adventurous gelato right in your kitchen. Using the KitchenAid Ice Cream Maker attachment, you can whip up smooth, creamy ice cream in no time.
Ingredients and Tools You Need
Basic Ingredients:
- 1 ½ cups whole milk
- 1 ½ cups heavy cream
- ¾ cup granulated sugar
- 1 tablespoon vanilla extract
- 4 large egg yolks (optional for custard-based ice cream)
Tools:
- KitchenAid Stand Mixer
- KitchenAid Ice Cream Maker attachment
- Mixing bowls, whisk, spatula
- Saucepan (for custard-based recipes)
For more ideas on ingredient variations and to explore a custard-based peanut butter chocolate ice cream, check out this Old-Fashioned Peanut Butter Chocolate Frosting Recipe.
Step-by-Step Ice Cream Recipe
1. Prepare Your Ice Cream Base
- In a saucepan, combine the milk, cream, and sugar. Heat over medium heat until the sugar is completely dissolved.
- If making a custard-based ice cream, whisk the egg yolks separately and slowly incorporate the hot milk mixture into the yolks, then return the mix to the saucepan and cook until it thickens.
- Cool the mixture in the refrigerator for at least 4 hours or overnight.
2. Churn the Ice Cream
- Freeze your KitchenAid Ice Cream Maker bowl for at least 15 hours prior to use.
- Attach the frozen bowl and the Ice Cream Maker to your KitchenAid Stand Mixer.
- Pour the chilled ice cream mixture into the bowl and churn for 20-30 minutes until the mixture reaches a soft-serve consistency.
3. Freeze for a Firmer Texture
- Transfer the churned ice cream into an airtight container.
- Freeze for an additional 2-4 hours for a firmer texture.
Looking to experiment with unique flavors? You can try making ice cream with inspiration from your favorite TikTok desserts. Check out this TikTok Cinnamon Roll Recipe for a fun twist.
To explore a detailed guide on using the KitchenAid Ice Cream Maker, visit this KitchenAid ice cream attachment guide.
Flavors and Customizations
Popular Flavors:
- Vanilla Ice Cream: Simple, classic, and perfect on its own or with toppings.
- Chocolate Ice Cream: Add Dutch-processed cocoa powder for a rich, chocolatey flavor.
- Strawberry Ice Cream: Blend fresh strawberries and mix them into your base for a fruity treat.
Customization Ideas:
- Mix-ins: Add cookies, candy, or nuts after churning to create your own signature flavor.
- Dairy-Free Alternatives: Substitute coconut milk or almond milk to create vegan ice cream.
Gelato, Sorbet, and Frozen Yogurt
In addition to KitchenAid ice cream recipe can be used to create gelato, sorbet, and frozen yogurt.
Gelato
Gelato is denser and less airy than ice cream. For gelato, use more milk than cream and reduce the sugar. If you’re interested in more Italian-inspired dishes, try this Baked Ziti Recipe for a comforting meal after your gelato.
Sorbet and Frozen Yogurt
Sorbet, made with fruit juice and sugar, is a refreshing dairy-free alternative. Frozen yogurt offers a tangy, lighter option than ice cream, made with Greek yogurt and sweeteners.
FAQ About homemade ice cream
Can You Make Ice Cream in a KitchenAid Mixer?
Yes! The KitchenAid Ice Cream Maker attachment works with most stand mixers, transforming them into an ice cream-making machine.
How Long Does It Take for a KitchenAid Ice Cream Maker to Freeze?
Ensure the Ice Cream Maker bowl is frozen for at least 15 hours before use. The churning process takes about 20-30 minutes.
How Do You Assemble a KitchenAid Ice Cream Maker?
The KitchenAid Ice Cream Maker includes a bowl, dasher, and drive assembly. After freezing the bowl, simply attach it to the mixer, insert the dasher, and secure the drive.
Can You Make Gelato in a KitchenAid Mixer?
Yes, you can make gelato using a KitchenAid mixer. Use the slowest churning setting for the best results.
Troubleshooting and Tips
Common Mistakes:
- Over-churning: Avoid churning for too long to prevent the ice cream from becoming overly dense.
- Mixture Not Freezing: Make sure the ice cream bowl is frozen for at least 15 hours before use.
Pro Tips:
- Use High-Quality Ingredients: Fresh cream and whole milk deliver the best results.
- Freeze the Bowl in Advance: Pre-freezing the bowl ensures the ice cream mixture churns properly.
Conclusion
Making ice cream with a KitchenAid is a fun and rewarding process. With endless customization options, you can create everything from classic vanilla to adventurous flavors like gelato or sorbet. Whether you’re experimenting with new flavors or sticking to the basics, your KitchenAid mixer is the perfect tool to make your ice cream dreams come true.
For even more ideas on creamy desserts, you might also like this Strawberry Ice Cream Recipe.

